Use VSS with Reolink RLC-810, 811, 823, 843, 1224, CX410, Reolink Duo IP Cameras or NVRs for Cloud Recording, Backup, Monitoring and Playback
Contents
Introduction
Step 1: Connect the Camera to the Network, Find Its IP Address, Enable ONVIF
1.1 Find the Camera's IP Address
1.2 Enable ONVIF & RTSP with CameraFTP VSS
1.3 Enable ONVIF with the Camera's Web-based Configuration Tool
Step 2: Set Source Video Resolution, Frame Rate and Bit Rate
Step 3. Use CameraFTP VSS with Reolink IP Cameras / DVRs
Appendix 1: Make Changes; Setup VSS with NVR / Reolink Duo; CameraFTP Viewer
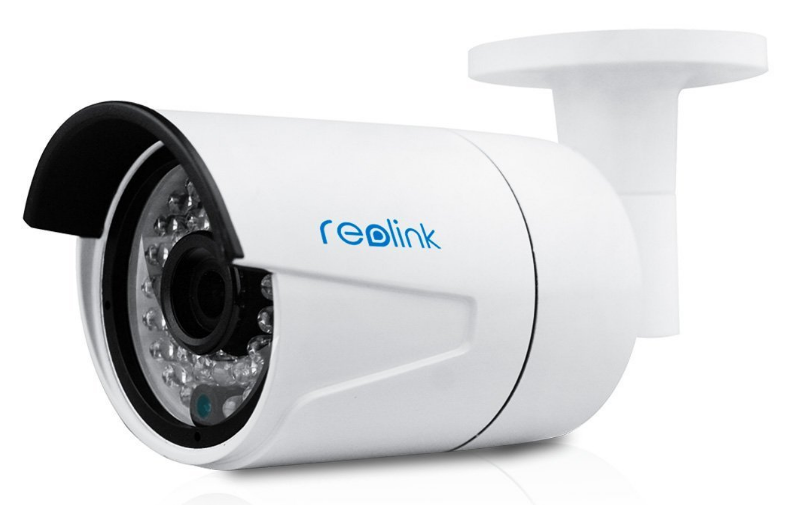
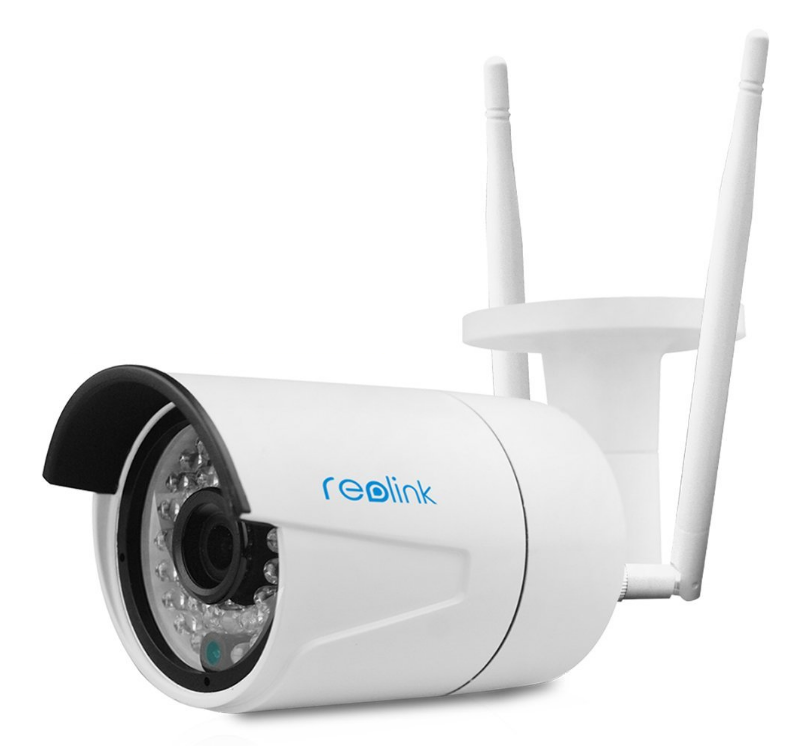
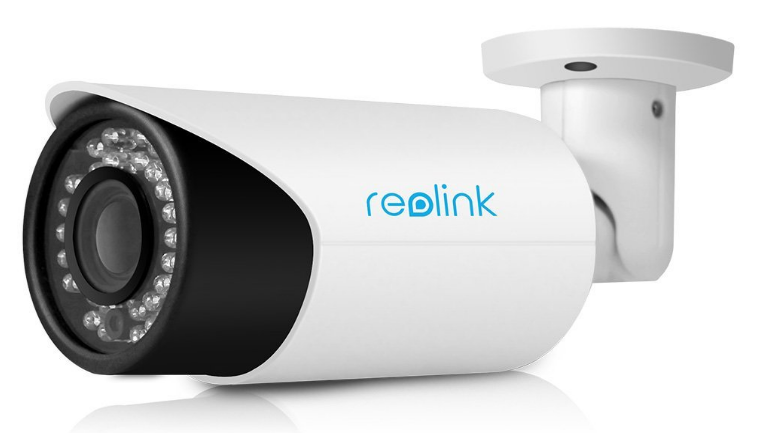
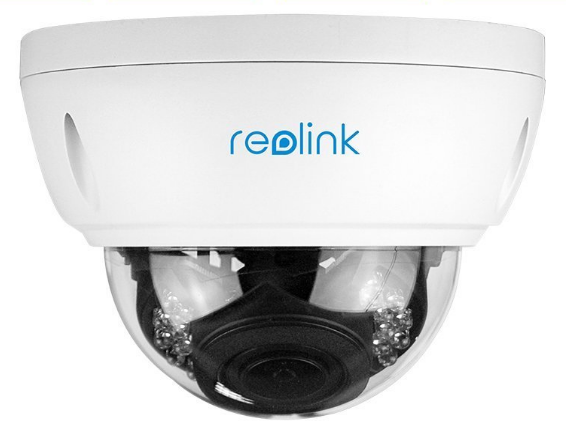
Reolink is a very popular IP camera and NVR device manufacturer. They make high-resolution outdoor / dome cameras, and NVRs.
These devices have high-end SPECs but are sold for low prices.
Reolink 8MP (4K) and 12MP PoE outdoor cameras are widely used for construction
timelapse recording.
The main features include:
- - High resolution 4K (8MP) video at 25 fps.
- - H.264 / H.265 video compression, can upload .MP4 video clips.
- - Supports both image / timelapse recording and video recording; can directly upload footage to Cloud.
- - Supports standard protocols like FTP, SMTP, RTSP and ONVIF; Compatible with CameraFTP VSS software.
Why use VSS with Reolink cameras? VSS can use a PC as a CCTV NVR system. It can connect to your cameras' video streams,
display live videos
on your PC screen, while recording the footage to the cloud and your local disk. In addition, It offers much better video recording options.
It supports popular video resolutions like 720P and 1080P; it also supports all frame rates from 1 to 25fps,
which is not supported if you configure the camera to upload directly.
Note: If you use VSS with your IP camera, then don't configure the camera to upload to CameraFTP directly.
Basic camera information
| Video / image resolution |
4K (8MP), 2560x1440(4MP),2304x1296(3MP), 900x512, 640x360 |
| Audio recording |
Supported (range: 15 feet) |
| Image upload frequency |
Up to 1 image/2s. |
| Video frame rate |
1,2,3,...,30 fps |
| Night-vision |
66 to 100 feet |
| Image / timelapse recording |
Supported |
| Video clip recording |
Supported |
| Motion detection |
Yes |
| Continuous recording |
Yes. |
| Supported video format |
.MP4 |
| Connection type |
Wi-Fi + wired; or PoE |
| PoE (Power on Ethernet) |
Yes |
| Indoor / outdoor |
Outdoor or Dome |
| Lowest pricing (as of 8/10/2024) |
$79.99 |
Disclaimer: This document is not designed to
replace the product manual from the manufacturer. The information provided is
based on our knowledge of the model Reolink RLC-811A PoE Outdoor 8MP Network Camera. We believe the information
is also applicable to Reolink RLC-810A, RLC-823S1, RLC-1224A, RLC-843A, RLC-1240A, RLC-843A, RLC-833A
RLC-811WA, RLC-810WA, RLC-843WA, RLC-510WA, E1 Outdoor Pro, CX-410W, Reolink Duo PoE,
RLC-1212A, CX-810, RLC-840A, RLC-820A, RLC-540A, RLC-520A, RLC-823A, RLC-830A, RLC-1212A, RLC-1224A, RLC1240A and NVRs, etc.
The information may not be accurate or up-to-date. Users shall contact the
manufacturer for all camera-related issues and contact us for
CameraFTP-related (cloud service / CameraFTP VSS) issues.
First, we need to connect the camera to the local network.
For a wired/PoE camera, you just need to connect it to a network router/switch with an Ethernet cable. For a Wi-Fi camera,
you can connect the network cable first and then use the web-based configuration tool to configure Wi-Fi later; you can also use
the mobile app provided by the manufacturer to connect the camera to the Wi-Fi router directly.
You also need a PC/laptop connected to the same local network. Install CameraFTP VSS on the computer.
Please refer to the product manual for more information.
Usually you will use Reolink's mobile app to configure the camera and set or get the camera's IP address. You can also use Reolink's
desktop software to find the camera's IP address. Alternatively, you can use
CameraFTP VSS software
to find the camera's IP address. Launch CameraFTP VSS, click Add -> IP Camera -> Find IP Cameras in Local Network, it will automatically
scan the local network for connected IP cameras.
As shown in the screenshot above, the device name is a generic Reolink name. If the camera's ONVIF protocol is enabled, then VSS can display
the camera's model info (or internal code name).
Select the correct Reolink camera, click Next to connect to it. If the camera has not been configured before,
then VSS will display a popup message. Please see below:
If you click OK, VSS will automatically enable ONVIF and RTSP protocols in the camera.
Wait for a while, then click "Scan local network" again, it will find the camera's IP address(es) very quickly with the ONVIF protocol.
You can also manually enable (disable) ONVIF and RTSP using the camera's browser-based configuration interface.
Now you have found the camera's IP address, open a web browser and enter the following URL:
http://IP_ADDRESS/
It might display an SSL certificate error. You can safely ignore it and continue. The device's
default username is admin, and password is empty (no password). You need to
change the password.
After you log in to the camera, you will see the live view screen as follows. Click the Settings icon on
the top-right corner.
Click Network Settings, you can see the screen below.
Then click Advanced to expand the network configuration options. It will display quite a few advanced network options as shown below:
Click the "Set Up" button below "Port Settings". It will display all Port Settings. Please see below and
make sure RTSP and ONVIF are enabled.
ONVIF stands for Open Network Video Interface Forum.
It's an industry standard designed to enable interoperability between different brands of IP-based security devices,
such as cameras, NVRs and VSS software. It must be enabled for VSS to find the camera's video stream URLs.
Click Save to save the settings.
In the device's Settings screen. Click Camera, then click Stream,
you can configure the video stream parameters as shown below:
The Clear Stream is a high-resolution video stream optimized for high quality Image/Timelapse recording.
(Other IP cameras usually call it Main Stream).
It supports 8MP, 4MP and 3MP video resolutions. The frame rate can be set from 2 to 25.
For the max bit rate, it supports 4-8Mbps for 4K (8MP) video stream;
For lower resolution 3MP and 4MP videos, it can be set to 1, 1.5, 2, 3, 4, 5Mbps.
Note: If you change the video resolution, the setting is applied automatically without the Save button. The
camera might automatically reboot and you will need to log in again.
Scroll down, you can configure the Fluent Stream video. (Other IP cameras usually call it sub-stream).
Please see the screenshot below:
The fluent stream video only supports one resolution of 640x360. You can set the frame rate
to 15, 10, 7 or 4. The bit rate supports 64, 128, 160, 192, 256 and 384Kbps.
The Fluent stream is a low resolution video stream.
VSS can use either the Clear or Fluent stream as the video source.
The source video parameters must be higher than your service plan's recording parameters.
If the source video parameters are high (e.g. >=8MP, 25fps), and if you have multiple such cameras,
then you need a fast PC with fast network connection. If your computer is too slow to handle the load,
you can lower the source video parameters, or use the Fluent Stream, which is a low-resolution video stream.
CameraFTP VSS software
can use a PC as a CCTV DVR system. It can display live camera videos on your computer screen, while
also recording the video/image to the cloud and/or the local disk. Reolink IP Cameras / NVRs are compatible with CameraFTP VSS software.
Using CameraFTP VSS with a Reolink IP Camera is easier to setup than uploading directly from the camera. CameraFTP VSS supports both
image recording and video recording at almost any parameters; it also has more powerful features than a regular IP camera or NVR.
The disadvantage is it requires a PC; but you can use an old/spare/existing PC, or buy a low-end computer for less than $300.
One PC/laptop can support many IP cameras and webcams.
Reolink IP Cameras support the standard ONVIF protocol. You might need to manually enable it.
Please read Chapter 1.
Now launch CameraFTP VSS software, click Add to add a camera, then click IP Camera. Click Scan Local Network to
find IP cameras in the same local network. With the ONVIF protocol, VSS can find the IP Camera(s) very quickly.
Please see the screenshot below:
Select the correct Reolink IP camera, click Next.
CameraFTP VSS will display a login dialog. Please enter the device's username (admin) and password to log in.
Click Next.
CameraFTP VSS will search the camera's video stream URLs. It will display the result as follows:
It found two RTSP video URLs. The first one is the high-resolution Clear Stream video URL,
the second one is the low-resolution Fluent Stream video URL.
If you ordered a low resolution (<=640x480) video recording plan, then select the second URL. Otherwise, select the first URL.
Selecting the first URL will use more CPU time and local network bandwidth. If the camera or PC uses Wi-Fi,
please make sure your Wi-Fi connectivity is
fast and reliabe.
The remaining steps are standard. Just click Next and follow the wizard to finish adding the camera. The camera will be added to
VSS as follows:
You are all done!
If you need to make changes, you can open VSS's main window,
move your mouse on top of the camera live view,
then click the Edit icon in the popup toolbar. You can:
- Select a different source video stream;
- Bind the camera with a different camera license (or free license);
- Edit motion detection settings;
- Set recording schedules.
If you use VSS with a Reolink NVR/DVR or Reolink Duo (with two lens/cameras in one camera device),
then you need to repeat the process of adding cameras in VSS software.
When adding a new camera, VSS will display a warning message that the camera's IP address has been added. You can
ignore the message and continue adding the camera, then select a video stream of a different camera (DVR channel). If the NVR/DVR has
N channels (cameras), then it has at least N video streams.
After a camera(s) is added, it will take about 1 minute for VSS to upload the first video or image.
However, you can view the live video (with audio) immediately from anywhere.
You can use the browser-based viewer by logging in to www.cameraftp.com
or download CameraFTP Viewer App for iOS, Android and Windows.
All viewers support live view and playback from anywhere. Moreover, they support video-calling to the camera.
Cannot get it to work? Please read our Trouble-shooting Guide.