Configure Axis P3354 (P & Q Series) Network Camera for Cloud Recording, Backup, Monitoring and Playback
Contents
Introduction
Step 1: Connect Camera to the Network and Find Its IP Address
1.1 Connect Camera to the Network
1.2 Find the Camera's IP Address
Step 2: Access Camera's Web-based Configuration Tool
Step 3: Configure the Video Profile
Step 4: Configure Motion Detection
Step 5. Configure Events (i.e. video/image recording settings)
5.1 Configure Recipients (i.e. FTP, SFTP or SMTP Server)
5.2 Configure Motion-Triggered Image / Video Recording
5.3 Configure Continuous Video / Image Recording
6. CameraFTP Viewer
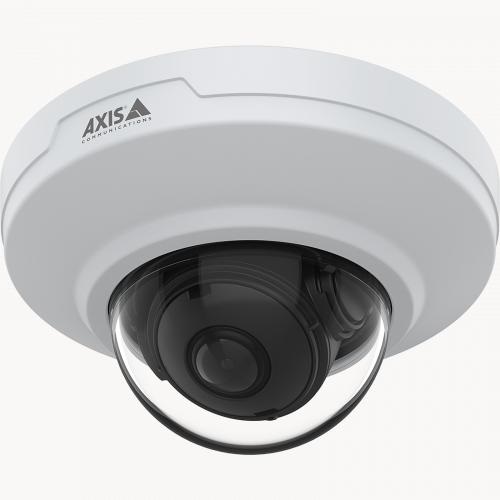
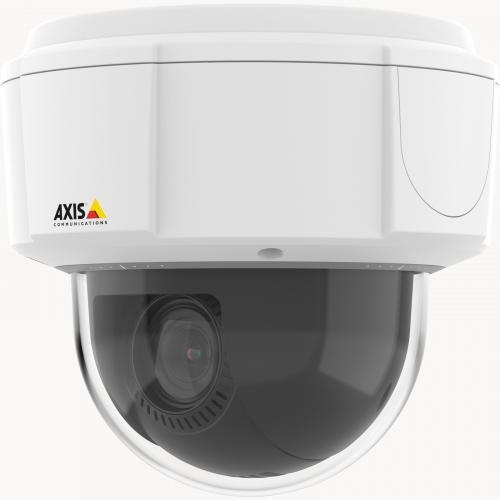
Axis Communications' P3354 (P Series) Network Camera is a mid-range IP camera. It provides a good balance between performance and affordability.
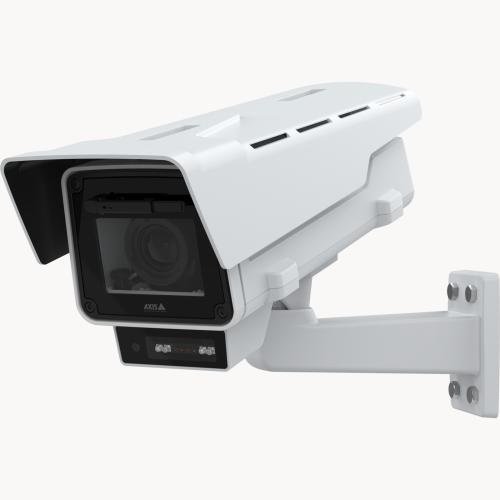
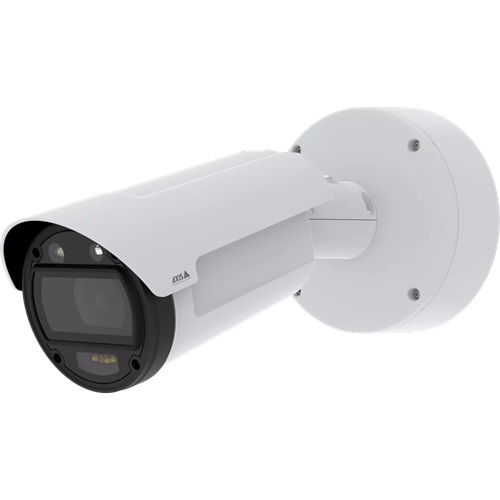
Axis has many outdoor and indoor camera models that support HD to 4K resolution, WDR (Wide Dynamic Range), WiFi and PoE.
Axis network cameras are very reliable. They have the most sophisticated firmware and features. All Axis M, P and Q series IP cameras support
cloud-based image and video recording, including continuous and motion-triggered
recording, via FTP, SFTP or SMTP.


Axis P3354 Network Camera Basic Information
| Video / image resolution |
1280x960, 1280x720, 800x600, 640x480, 640x400, 640x360, 480x360, 320x240 |
| Audio recording |
No |
| Image upload frequency |
1 image/hour to 10 images/second |
| Video frame rate |
1-30 frames/second |
| Night-vision |
No, but supports WDR in low-light setting |
| Image snapshot recording |
Supported |
| Video clip recording |
Supported |
| Motion detection |
Supported for both image and video clip based recording |
| Continuous recording |
Yes |
| Supported video format |
.MKV |
| Connection type |
Ethernet cable |
| PoE (Power on Ethernet) |
Yes |
| Indoor / outdoor |
Indoor |
| Lowest pricing (as of 6/18/2024) |
$100 |
Note: This document is not designed to replace the Axis product manual. The information provided is based on our knowledge of
the model Axis P3354 (P Series and Q Series) network camera. It may not be accurate or up-to-date. Users shall contact the manufacturer for
all camera-related issues and contact us only for CameraFTP-related (i.e. cloud
service / FTP) issues. We guess the following Axis camera models are compatible with our service:
AXIS P32, P39, Q35, Q36 Dome Camera Series, P9117-PV Corner, Q9216-SLV Camera, Q9307-LV; P13, Q16 Box Camera Series;
AXIS P14, Q17, Q18 Bullet Camera Series; AXIS Q87 Bispectral PTZ Camera Series, AXIS P56, Q60, Q61, Q62, Q63, Q86, V59 PTZ Camera Series.
The first 2 steps are camera-related and very easy. If you have finished these basic steps, then you can skip
Steps 1 and 2 below. CameraFTP's service can be configured in just 3 steps (i.e. Step 3, 4 and 5).
This camera is a PoE camera. You must have a PoE switch. You don't need a power adaptor.
Just connect the camera with a PoE switch with an ethernet cable.
The camera will be powered on. It will automatically connect to the network and acquire a local IP address using DHCP.
If the camera is powered on and connected to the network, then you
can run Axis' setup program to find the camera's IP address. For example, you can
download Axis Companion or Axis Camera Station. Install the software and run it, follow the wizard, then you will
see the screen as shown below:
You can see the camera model (Axis P3354) and its IP address as shown above.
Alternatively, you can use
CameraFTP VSS software
to find the camera's IP address. Launch CameraFTP VSS, click Add -> IP Camera -> Find IP Cameras in Local Network, it will automatically
scan the local network for connected IP cameras. Please see the screenshot below:
The device name is shown as Axis P3354. For certain Axis IP camera models, the device information
may not be very clear. If so, you can check each IP address one by one. (Or you can disconnect the camera,
search the network and record the list of IP addresses; then connect the camera and search the network again.
The new IP address should be the camera's IP address.)
Now we have found the camera's IP address. Open a web browser and enter the URL:
https://IP-ADDRESS/
It will display the login page, or set-password page if the device's password has not been set:
Set the password for the device's root account, or log in to the device, it will display the live view page as follows:
Click Setup to begin setting up the camera. If you haven't setup this camera before,
you can quickly follow the Basic Setup steps to finish the basic setup
(e.g. set the camera's date and time). These steps are not related to CameraFTP's service and are not required.
This camera is capable of recording images or videos.
You need to create a video/image profile that matches
with your CameraFTP subscription plan you ordered for this camera.
If you ordered an Image Recording Plan:
You need to click the Video tab, then click Stream Profiles, then click Add as shown in the screenshot below:
In the above (Image) Stream Profile Settings page, you only need to select the Video Encoding to be MJPEG, and the image
resolution based on your subscription plan for this camera. The upload frequency (or Frame
Per Second, FPS) is configured in the Events tab.
If you ordered a Video Plan:
You need to create a new Video Stream Profile. Please see the screenshot below:
Enter VideoRecord as the profile name, and select the following parameter values based on the subscription plan for this camera:
- Video Encoding: H.264
- Resolution and FPS: Based on your Camera's subscription plan.
Then click the H.264 tab as shown below:
Select "Maximum bit rate" and enter a bit rate calculated as follows:
The bit rate value is a little
tricky. Setting it too low may affect the video quality, while setting it too
high can cause network congestion. Please
use our bandwidth calculator to estimate your bandwidth:
Open a new browser window and visit www.cameraftp.com, click on Pricing, and then customize a service plan. You
can see the screenshot below. You can adjust the parameters and see the
estimated bandwidth. Note: Number of
Cameras should be 1 when estimating the bandwidth.
In the above example, you can set the bit rate to 220Kbps or 256Kbps.
You can skip this step if you ordered a continuous-recording plan.
Axis IP cameras support both motion-triggered
and continuous recording. With motion-triggered recording, it will only upload
images/videos when it detects a motion. This reduces the bandwidth usage so
that it will not slow down your network. It is also easier and faster to play back the recorded footage.
Motion-triggered recording can save up to 50% of the cost. It is recommended.
If you ordered a service plan with motion-triggered recording, you MUST configure the camera to upload only when a motion is detected.
Click Applications -> Motion Detection Settings, you will see the following screen:
Click "Axis Video Motion Detection Settings", it will launch the "Motion Detection V4 Settings" window as shown below:
You can create a new motion detection profile, or use the default profile.
You can draw a motion-detection area and exclude certain areas.
Please note this step only sets how the camera
detects motions. Whether the camera will upload based on motion detection is to be configured in Step 5.
If you don't have an account on CameraFTP, please visit www.cameraftp.com
(in a new browser window) and sign up for a free account. CameraFTP offers three-day
free trial of the Cloud Recording service. After three days, it will change to a limited free service
that is optimized for CameraFTP virtual camera apps.
If you use a real IP camera, it is recommended ordering a cloud-recording service plan.
After sign-up, please log in to www.cameraftp.com, go to My Cameras page, click Add to add a camera to your
account, see the screenshots below.
The camera name will be used as the folder name in the FTP server. Multiple cameras (or folders) can be created at once.
Each camera is bound with a camera license (or a free temp license). You can change the camera license later by editing the camera properties.
Axis IP cameras can support FTP, SFTP and SMTP recipients; it means the cameras can upload footage to a cloud server
via these protocols.
Click Events -> Recipients, then click the Add button as shown below:
It will pop up a window as follows:
Enter "Recipient_FTP" as the recipient name, and enter the following FTP parameters:
- Type: FTP
- Network address: ftp.cameraftp.com (or 66.220.9.45)
- Upload path:
YourCameraName (e.g. AxisP3354)
Your Camera Name is created on
www.CameraFTP.com website when you add a new camera.
- Port: 21
- Username / Password:
FTP username is your CameraFTP username, FTP password is available in
Configure IP Cameras page. (Your CameraFTP password may also work, but you must enter the Upload Path).
- Use passive mode: Check the checkbox.
Using SFTP is more secure. To use SFTP, enter "Recipient_SFTP" as the recipient name, and enter the following SFTP parameters:
Click Test to see if it works correctly. If so, click OK to save it.
Another option is to use SMTP (with SSL, which is very secure).
To find the camera's SMTP settings, please go to My Cameras page on CameraFTP.com,
click the gear (Setting) icon, then scroll down the page and you will see the SMTP settings:
To use SMTP,
enter "Recipient_SMTP" as the recipient name, and enter the following SMTP parameters:
Click Test to see if it works. If so, click OK to save it.
If you ordered a motion-triggered cloud recording service plan for this camera,
please click Events -> Action Rules. It
will pop up the following window.
Click the "Add" button to add a rule. Check the "Enable rule" checkbox,
then enter a rule name. Please see the screenshot below:
Set the trigger info as shown in the screenshot. (For this model camera, you need to select Applications, then select VMD 4 - Video Motion Detection 4.0.
You might need to select an older or newer version VMD for other Axis camera models).
If you ordered an Image Recording Plan, then in the Actions section,
set the parameters as follows:
- Type: "Send Images";
- Stream profile: ImageRecord (the profile we added to match with the service plan) (or the default image profile "JPEG").
Image frequency must be set based on your subscription plan.
If your plan is 1 image per 2 seconds, then you can select "30 frames per minute".
- Pre-trigger time: 5 seconds;
- Post-trigger time: 25 seconds;
- Recipient:
Recipient_FTP.
Note: Recipient_FTP is the recipient name you added previously for uploading footage to the cloud server using FTP.
If you added Recipient_SFTP or Recipient_SMTP, then you can select it. If you select SMTP, the interface will be slightly
different. Please see below:
Click Ok to save the settings.
If you ordered a Video Recording Plan, then in the Actions section, set the parameters as follows:
A screenshot is shown below:
Note: Recipient_FTP is the recipient name you added previously for uploading footage to the cloud server using FTP.
If you added Recipient_SFTP or Recipient_SMTP, then you can select it. If you select SMTP, the interface will be slightly
different as it will display two new fields: Subject and Additional information. Just leave both fields empty.
Click Ok to save the settings.
5.3.1 Add Recurrences
You can skip this step if you ordered a motion-triggered recording plan.
For the Axis camera to record to the cloud
continuously, you must add a "Recurrence" first. Click Events -> Recurrences,
then click the "Add" button, it will display the following window:
Enter the name "Every_1min", and set "Repeat every 1 minute", then click Ok to save it.
5.3.2 Add Continuous Image / Video Recording Rule
Click Events -> Action Rules, then click "Add", it will pop up an "Action Rule Setup" window:
Enable the rule and enter a rule name. In the Condition section,
please select the values as shown in the screenshot. (Time à Recurrence
à Every_1min).
If you ordered an Image Recording Plan, then in the Actions section, set the parameters as follows:
Note: Recipient_SFTP is the recipient name you added previously for uploading footage to the cloud server using SFTP.
If you added Recipient_FTP or Recipient_SMTP, then you can select it. If you select SMTP,
the interface will be slightly
different as it will display two new fields: Subject and Additional information. Just leave both fields empty, and
set "Images per email" to 1. Please see the screenshot below:
Click Ok to save the settings.
If you ordered a Video Recording Plan, then in the Actions section, set the parameters as follows:
Note: Recipient_SFTP is the recipient name you added previously for uploading footage to the cloud server using SFTP.
If you added Recipient_FTP or Recipient_SMTP, then you can select it. If you select SMTP,
the interface will be slightly
different as it will display two new fields: Subject and Additional information. Just leave both fields empty.
Please see the screenshot below:
A screenshot is shown below:
Click Ok to save it.
You have finished configuring the camera to upload to the cloud.
After your camera is setup, you can visit www.cameraftp.com
to live monitor or play back your
recorded footage from anywhere. You can also download CameraFTP Viewer App
for iOS, Android and Windows.
If you need to make changes, you can
run the setup program again to find the camera's IP address (as it might have changed
with DHCP), and then access the camera's web-based configuration pages.
Cannot get it to work? Please read our
Trouble-shooting Guide.